

How To Edit Sad Photos With Photoshop
How To Brand Someone Look Sad In Photoshop Using Liquify

How To Make Someone Expect Sad In Photoshop Using Liquify world wide web.sleeklens.com
Howdy all, today I want to look at how to dispense faces using Photoshop.
The times that I would use this is when I'one thousand going for a certain look in a composite.
Yous tin can imagine that I have to brand a poster for a movie or something like that.
So imagine I've been asked to do the movie poster within a sure flow of time, all the photos had been taken, just not by you unfortunately and in that location is no fourth dimension for re-shoots, so you await at the images and you think, they must have been having a correct old time while they were taking these photos because well-nigh of them are smirking when they're supposed to take serious or pitiful expressions on in that location faces, oh dear!
Well no, not oh honey actually! because we know how to utilize Photoshop and nosotros're fantabulous at it, and then no worries at all, we'll fix those expressions upwardly quick snap and nobody will know any unlike.
Now I will say that for this we'll just be using an image of a person smirking and looking softly pleased with themselves, if they have a massive cheesy grinning on their face then you would have to expect nearly mixing and matching, replacing parts out of other images of them to get something that you could work with, if you don't have this option then yous're only out of luck (Or endeavor one of our Photoshop actions to aid you lot ).
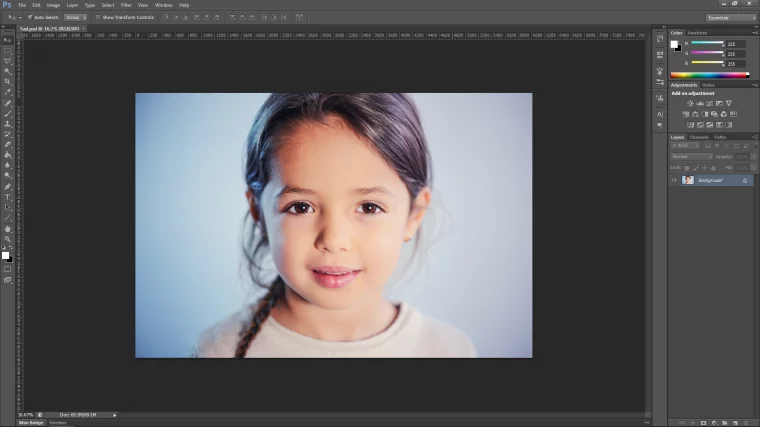
But, for this allow'southward take a look at the types of images that I'm talking virtually.
Sometimes in Photoshop, we can't win them all.
But, for this permit's take a wait at the type of image that I'm talking nearly that I'm going to use.
Ok let'south begin…
Let's create a indistinguishable layer first that we can work with so we have the original layer intact if annihilation goes wrong.
So wait to the top left of your desktop till y'all see the word Layer, click on that and then click on Duplicate Layer, printing ok.

Now you will see y'all have a new layer on the right manus side in the layers panel.
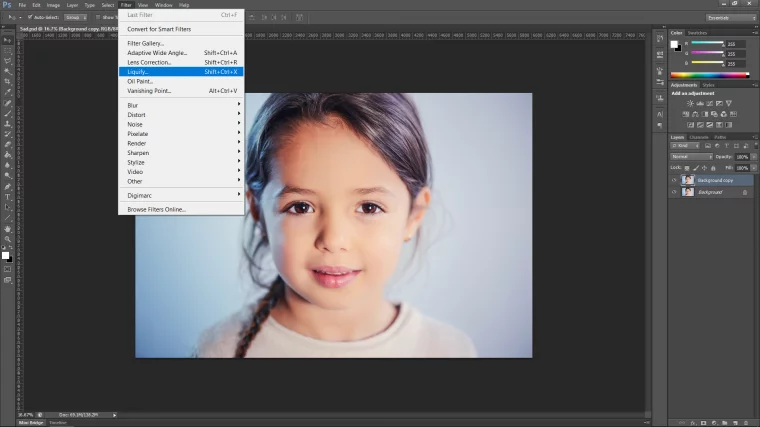
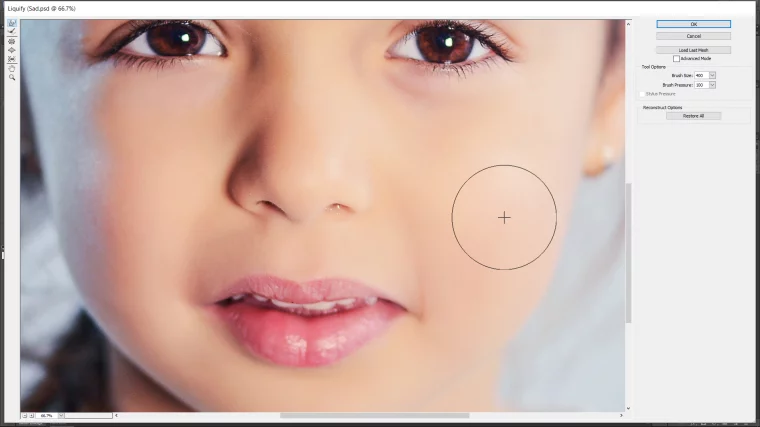
Next expect to that meridian menu again, an when you see the word Filter, click on information technology, and y'all volition then see an option called Liquify. [y'all can as well use the keyboard shortcut if y'all can remember it, yous do this past holding Shift + Ctrl so hitting Ten]
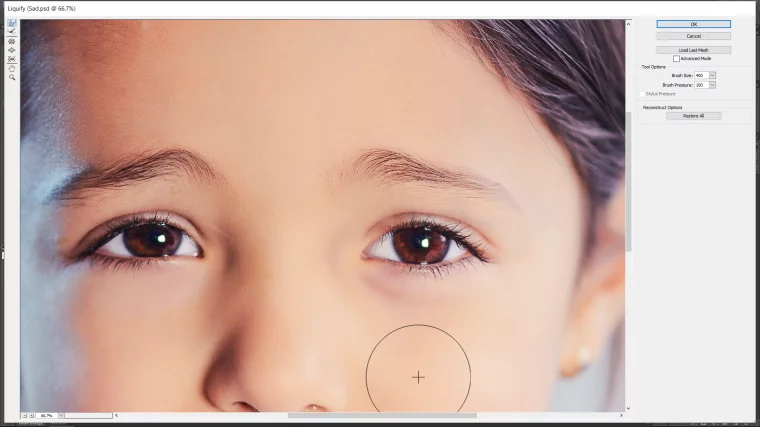
Ok when you are in you want to zoom in, key Z on your keyboard and a magnifying drinking glass will appear, and then you only click on your screen to zoom in, then to zoom out concord Alt on your keyboard and click just like you did.
You can also hold the space bar to enable you to click on the screen and drag your image around.
Adjacent we'll want to use the Warp Tool (W on your keyboard for the shortcut)
At present comes the hard office ha-ha, so the way you utilise this tool, is you click and drag, so if I clicked on the olfactory organ and pulled downwards, it would pull the nose downward with my mouse warping information technology.
To refine this, the technique I employ, it to click and pull slightly, and so only tiny bits at a fourth dimension.
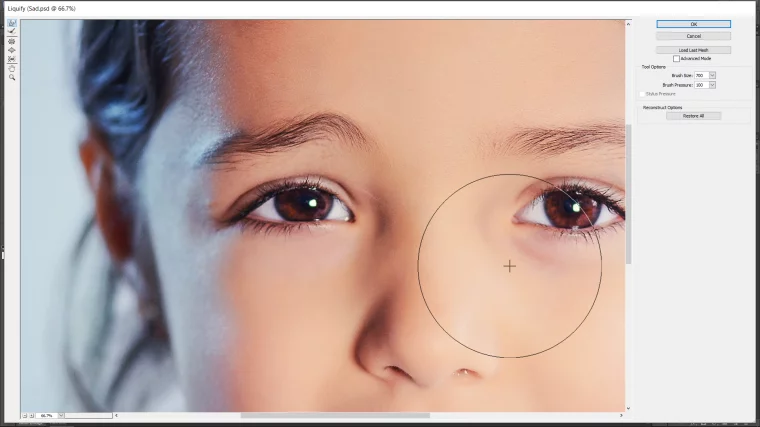
I utilize the bracket keys on my keyboard to change the size of my castor caput, which will be necessary.
Then modify the size of the brush head to fit the size of the area that yous want to warp.
Ok so to get a feel for the tool, take 5 minutes to play effectually and when yous are washed click on 'Restore all' on the right paw side to set everything dorsum to normal.
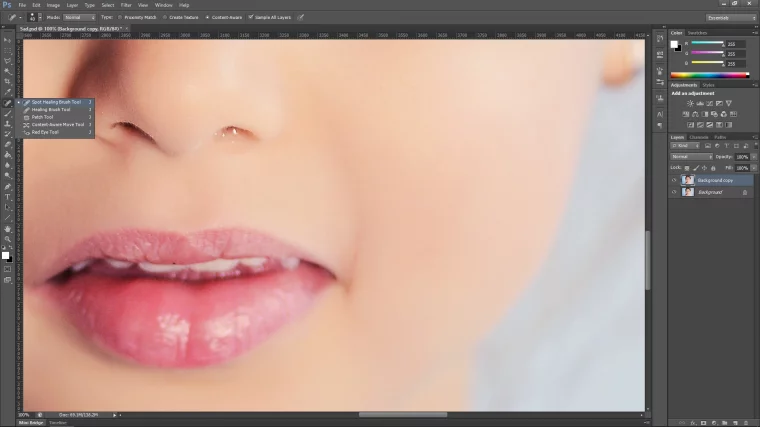
I am at present going to do the post-obit, I'm going to outset to work on the eyebrows and pull the inner ends upwards little past piddling.
Next I'll work on the mouth, and pull it downward and in, and so use your best judgment and when y'all are happy click on OK.
If at that place's any little bits that don't expect right, you can just use the Spot Healing Brush Tool, all you do is just click and paint over the surface area, but note I said petty.
And that's information technology, we take at present changed the mood of our subject, you can also go a little fleck further and add together a little tear like I did, but I'll let yous effigy that i out, here's a hint, I used a PNG file 🙂 ha-ha enjoy.

Here'southward the best manner to employ the Patch Tool and Fade Tool in Photoshop.
The following two tabs change content below.
- Bio
- Latest Posts
Graduated from college in 2002 with a degree in Art & Design, I started exploring my mode in Graphic Design and Professional Post Production. Full-fourth dimension freelancer since 2011.
Source: https://sleeklens.com/blog/photoshop-tutorials/make-someone-sad-using-liquify-in-photoshop/
Posted by: fordgodder.blogspot.com
0 Response to "How To Edit Sad Photos With Photoshop"
Post a Comment